Aurus The Clarinet Method for Beginners Volume I -The Upper Joint
19,50€ mit MwSt
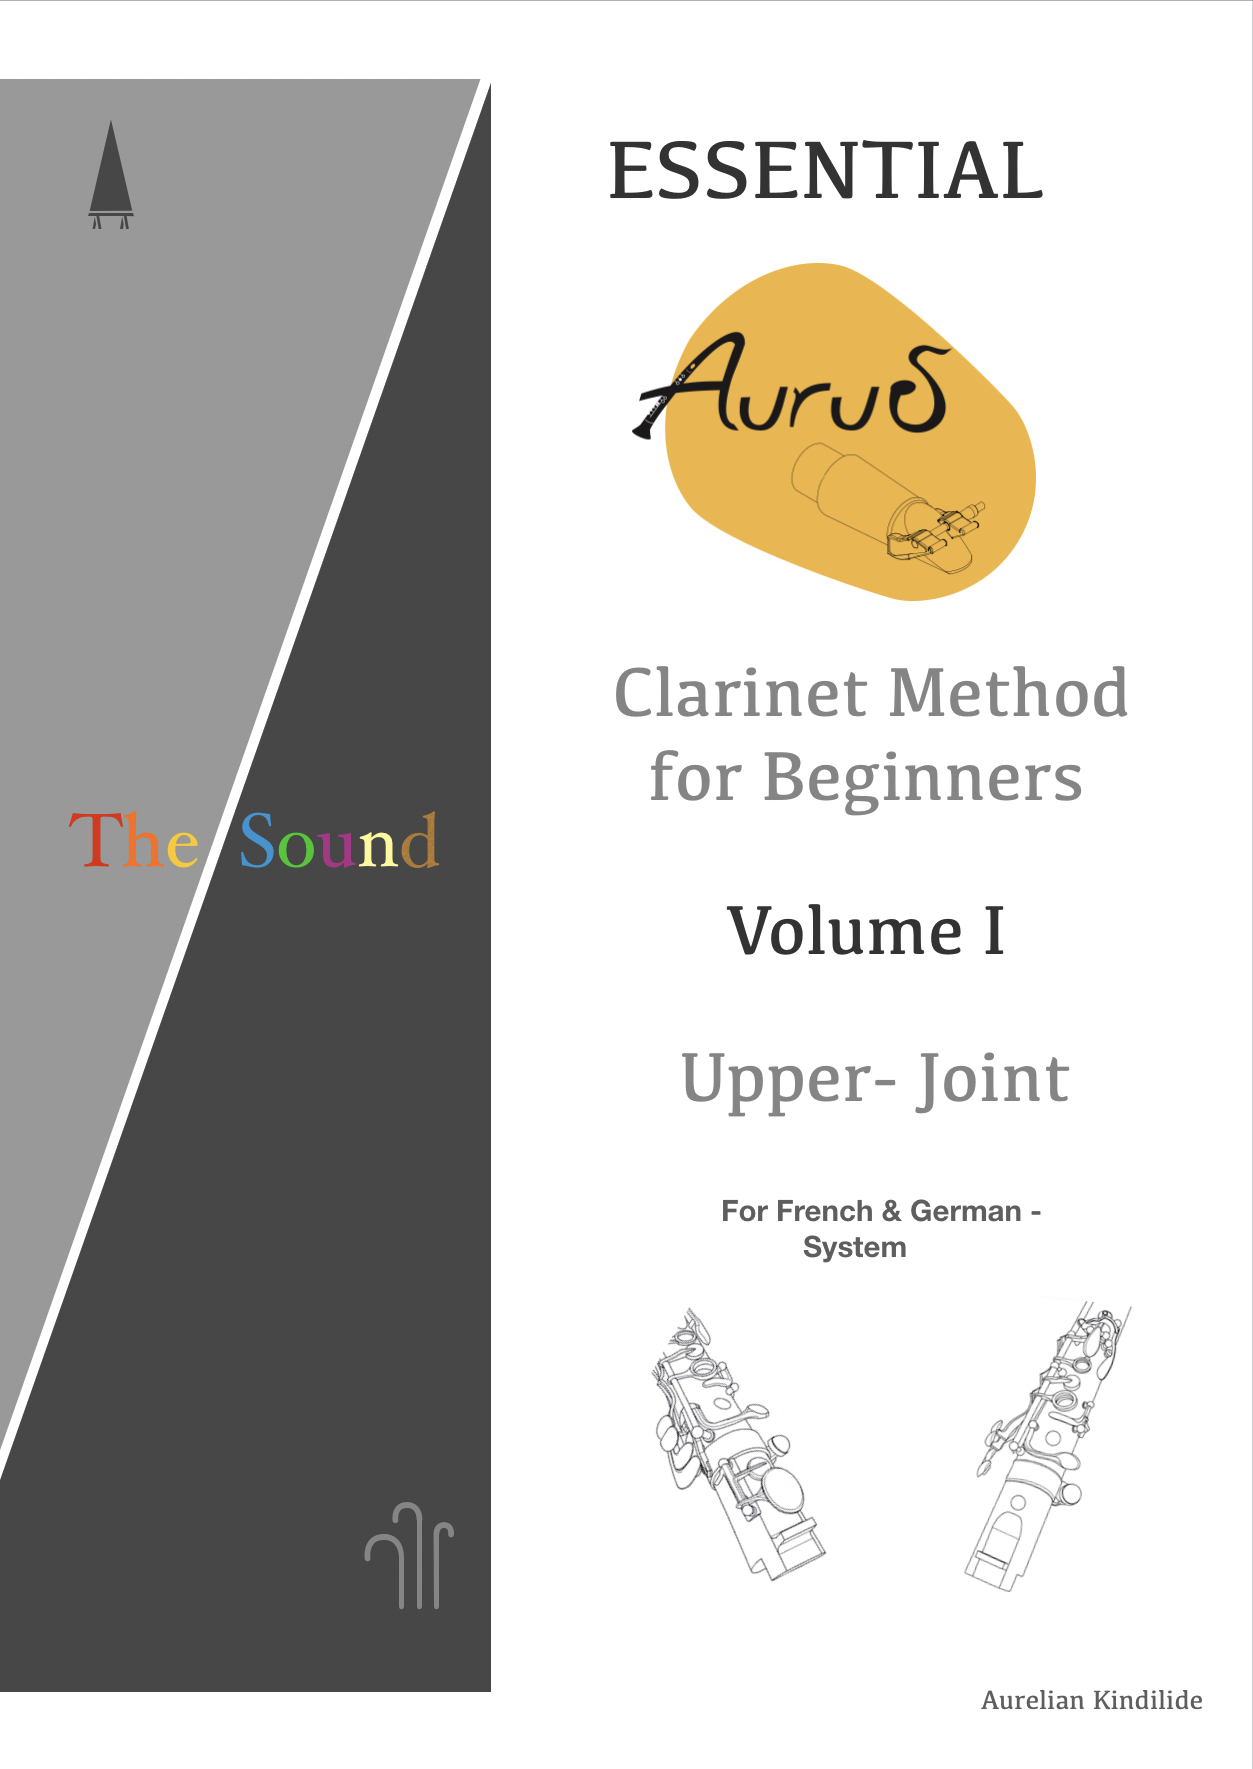
Essential
The Clarinet Method for Beginners
Volume I
The Upper Joint
This clarinet method is the result of many years of teaching and supervising Clarinet classes and students. During the course of learning the instruments there were technical difficulties that often reappeared with varying levels of severity. As someone who is continuously searching for new solutions and how to apply them. I observed, through use of extension, a positive improvement for beginners. This gave me the impetus to create this clarinet method for the upper-joint which emphasises the essential points.
Essential
Step-by-step
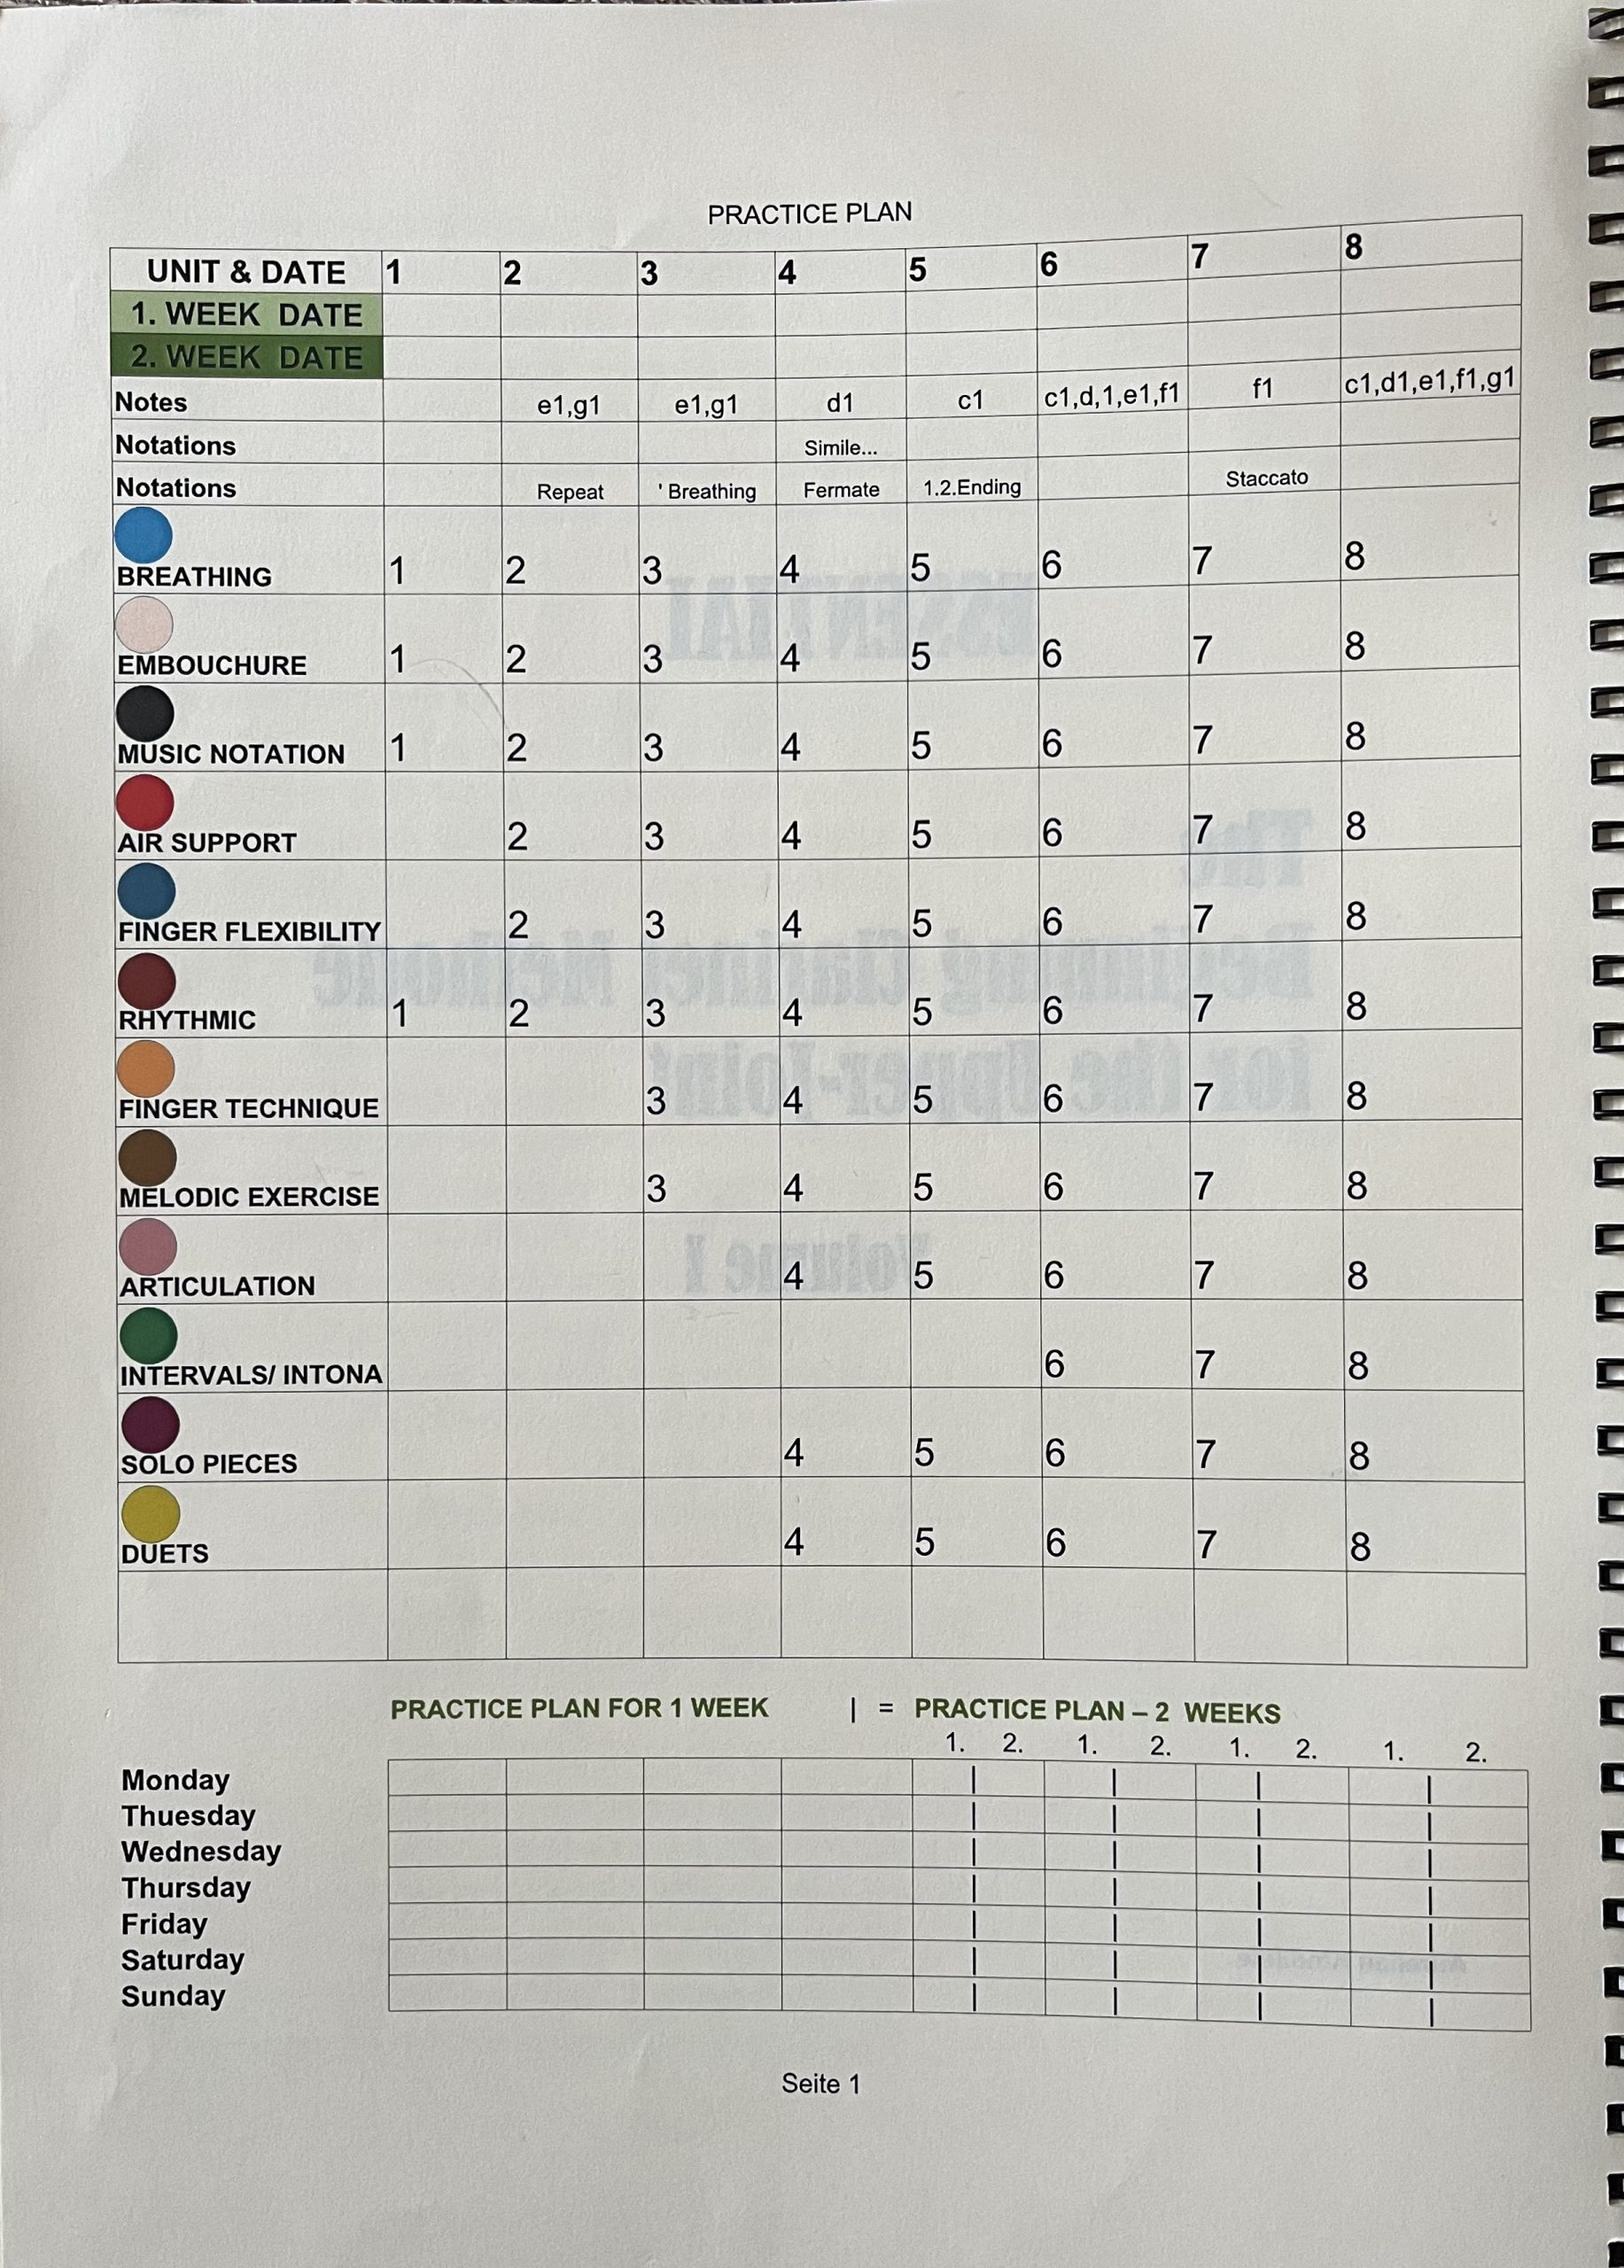
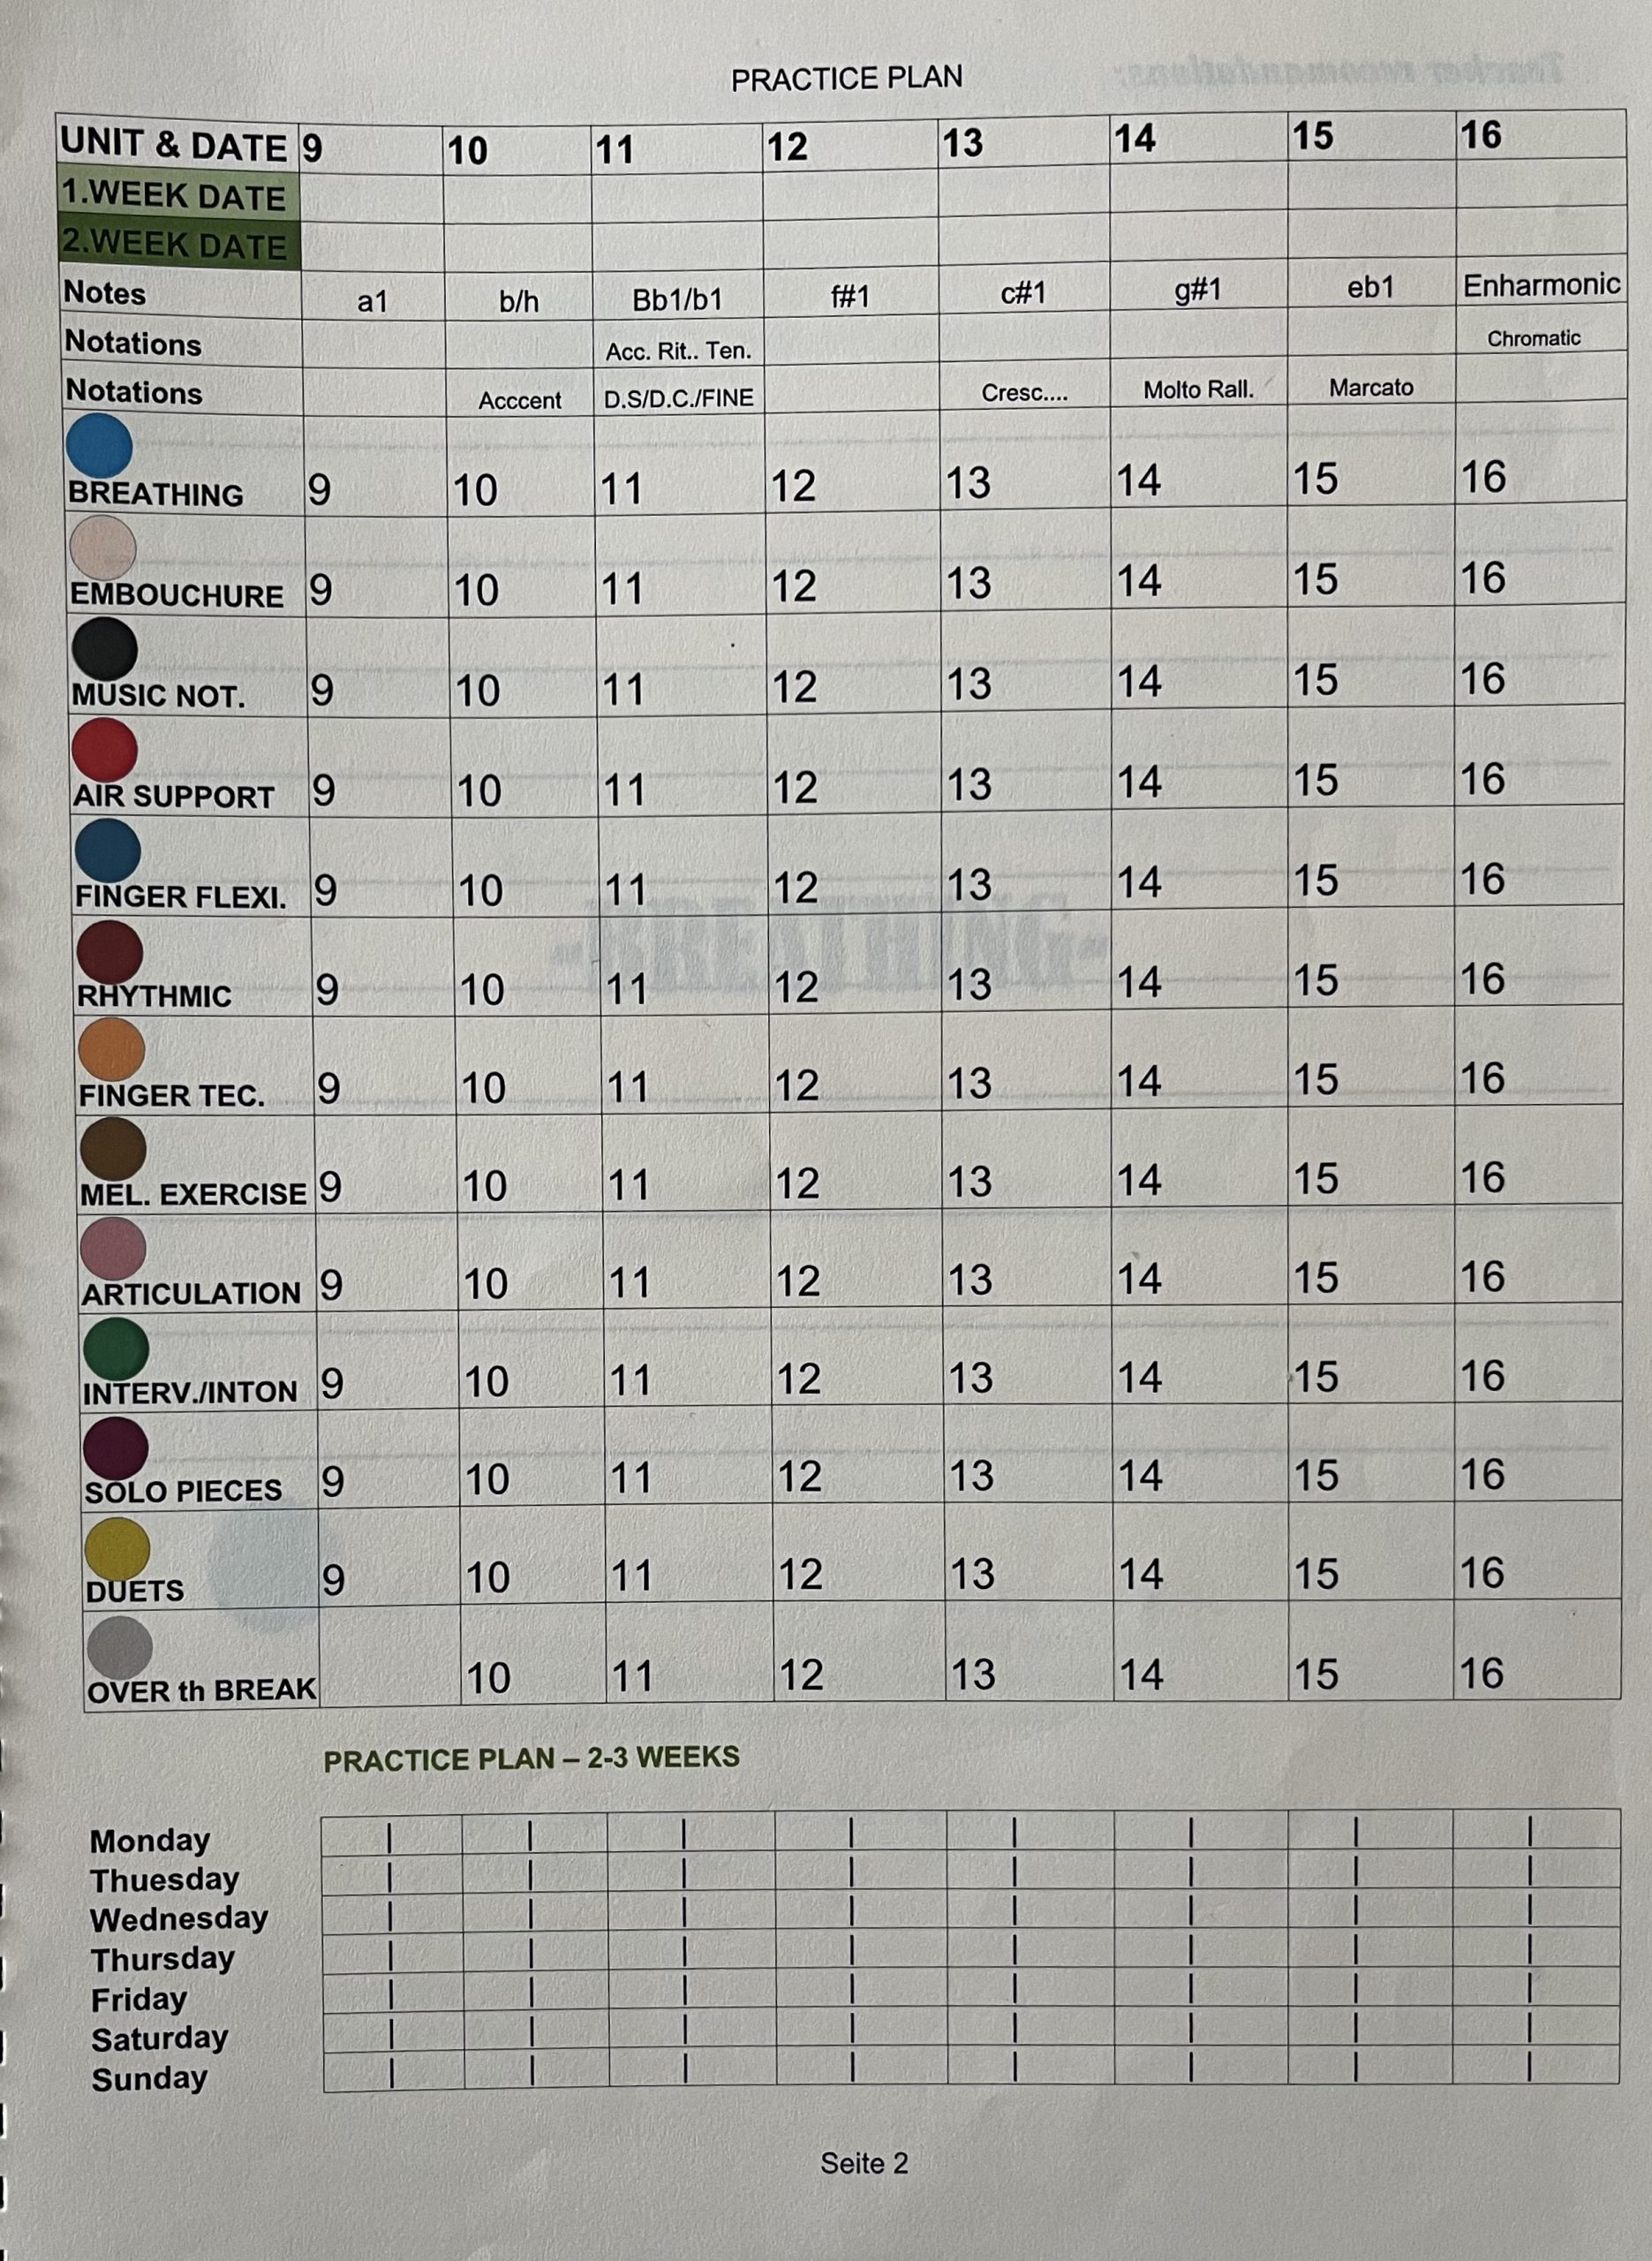
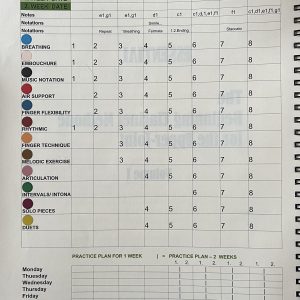
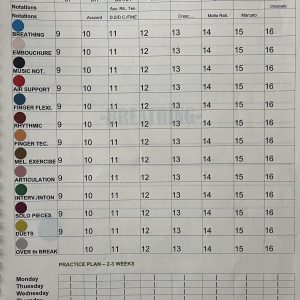
The step-by-step strategy is divided into thirteen segments of daily exercises.
The first step is to reduce the overall weight of the clarinet by removing the lower joint part, including the bell.
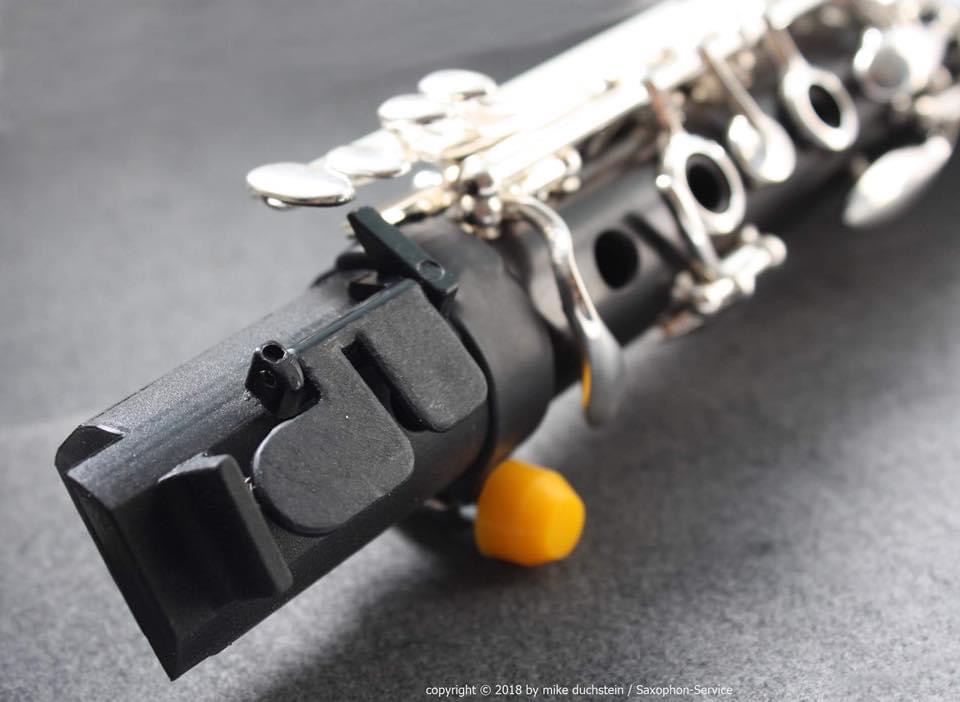
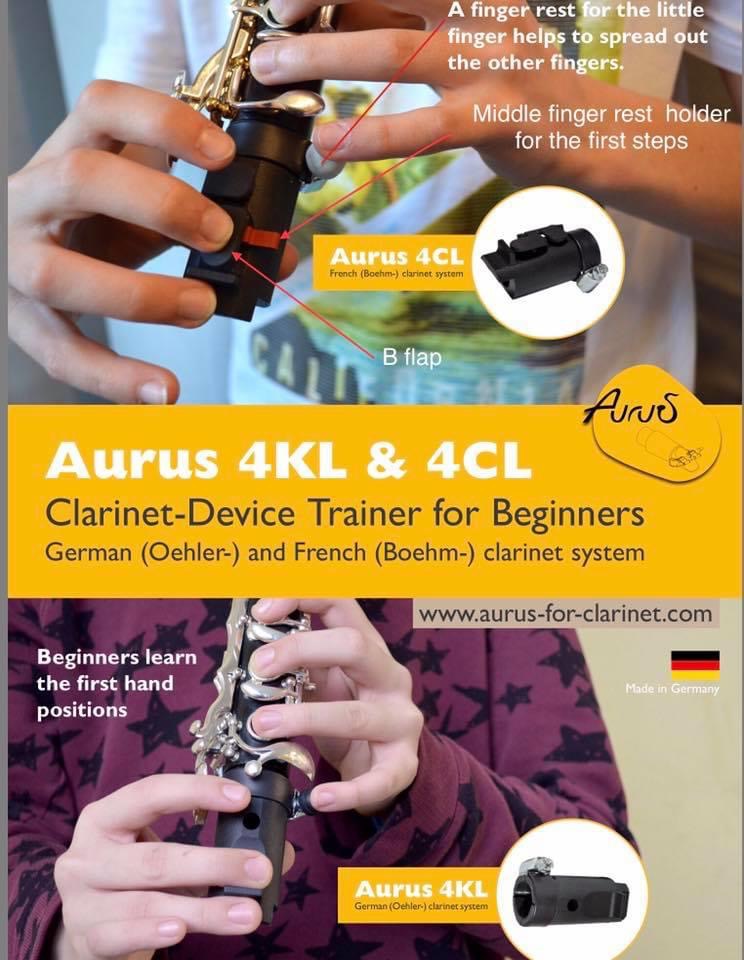
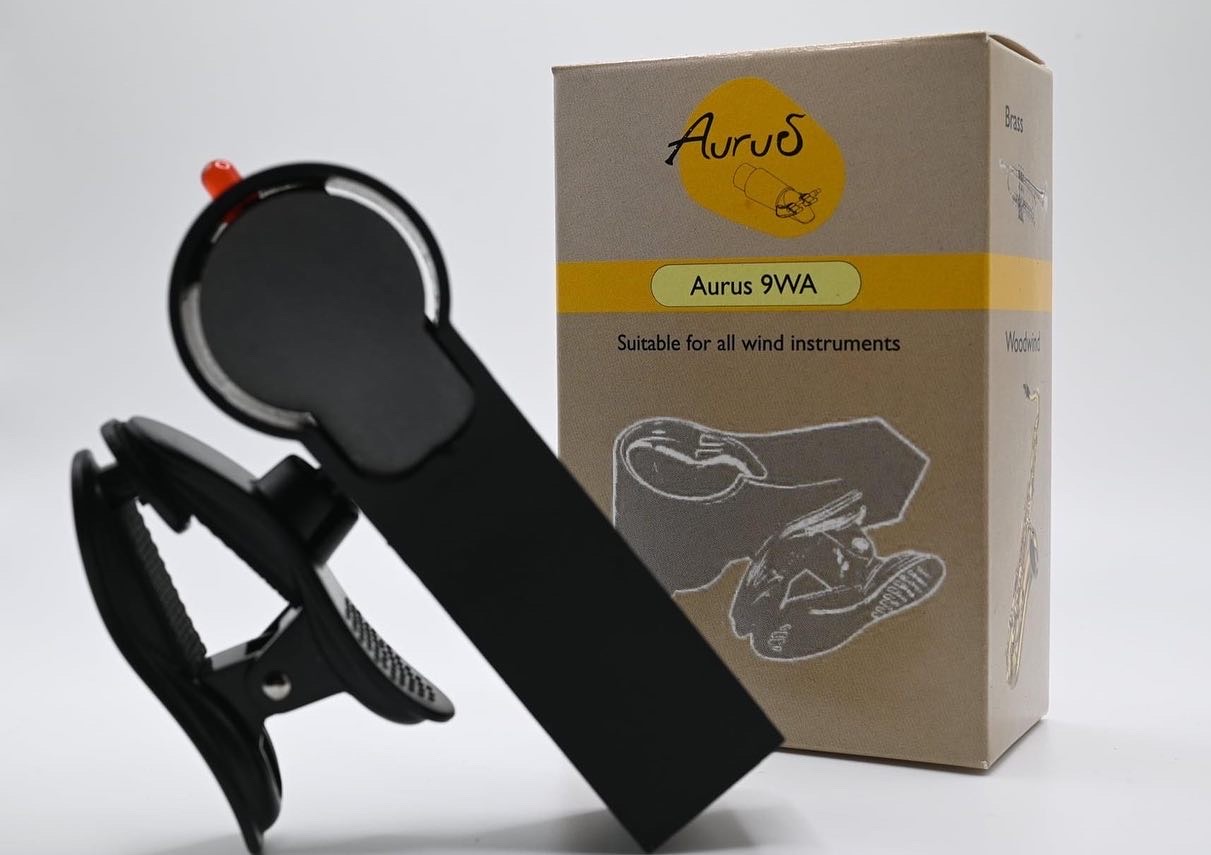
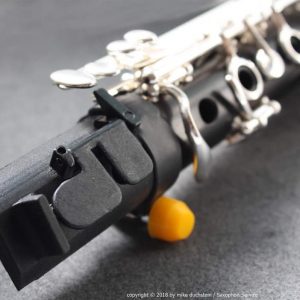
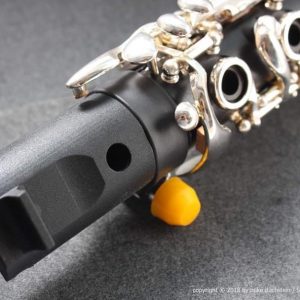
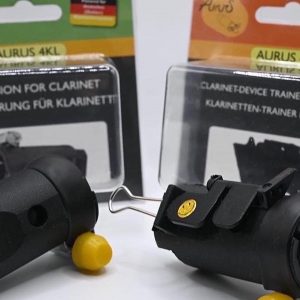
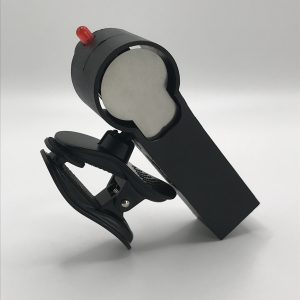
In this way the sudents can focus specifically on approaching and leading (supporting) the air column as well as the embouchure. For this purpose the lower joint part of the clarinet is replaced with Aurus 4CL (Böhm System) or Aurus 4KL (Oehler System) “Tool for beginners”.
This method incorporates newly learned notes and fingerings which are continuously repeated in the following units until the end of the first volume. In this way, the students are able to practice all fingerings and notes through constant repetition.
All duets are composed and arranged in such a way that both parts can be played solely the upper joint part of the clarinet.
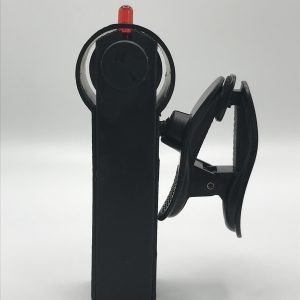
Aurus 4CL and Aurus 4KL tools description and application
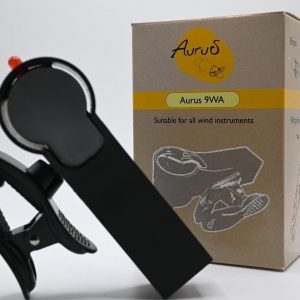
The Aurus 4CL and Aurus 4KL are two useful tools for clarinet beginners that have been developed for both the Boehm (4CL) and Oehler (4KL) systems.
Positioning
The Aurus 4CL and 4KL do not have a thumb rest, so that the right hand is not overworked. Concurrently students are able to better control the mouthpiece during their intial lessons.
The Aurus 4CL and 4KL don‘t have a thumb rest, to avoid straining the right hand, at the same time for better control of the mouthpiece during the beginning lessons.
For better control of the embouchure it is recommended to hold the barrel and mouthpiece with the right hand until the H position (see UNIT 10) is learned.
The fingertip of the thumb is at the pivot point of the reed end, the cup of the thumb resting on the reed (see Embouchure, page 2, figs. 13 – 15).
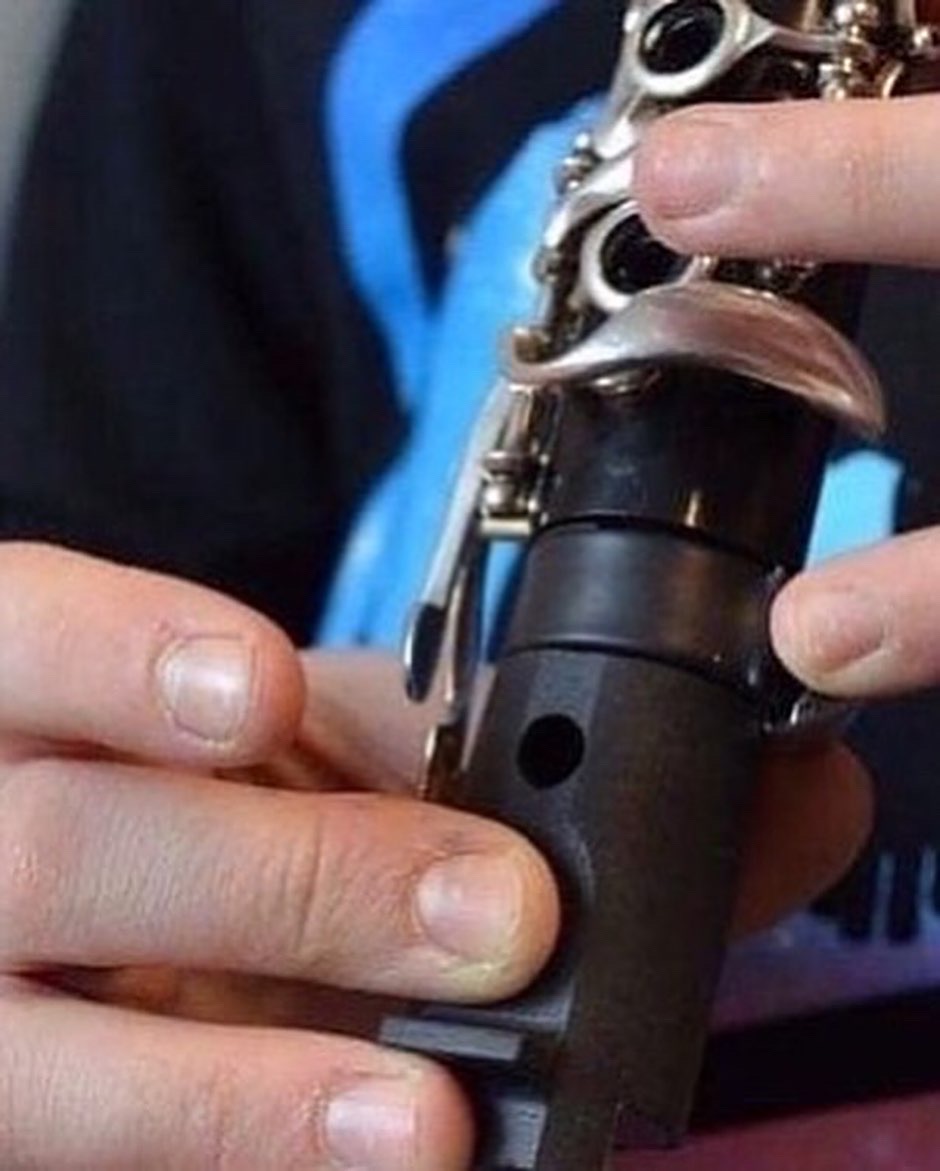
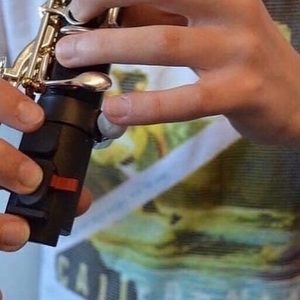
From UNIT 10 the position of the right hand is on the Aurus 4CL/4KL tool and the ring finger rests on the narrow plate behind the splitter of the tool, to hold the clarinet.
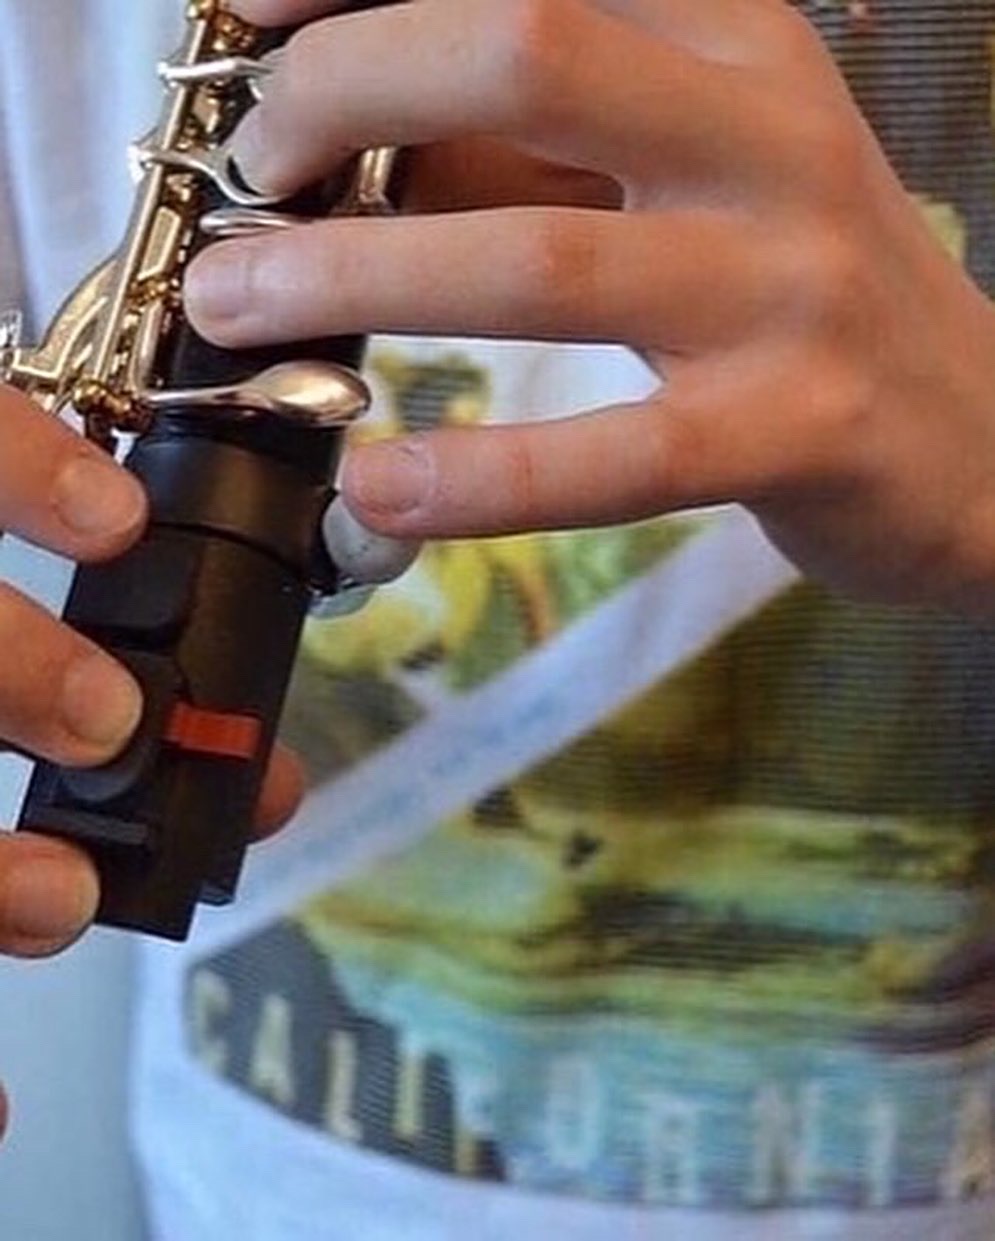
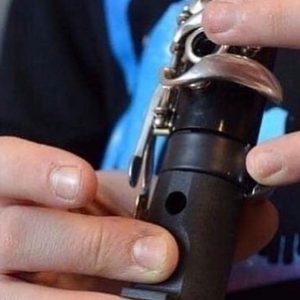
The tool has an orange silicone cap (bump) to cover the fastening screw to the upper joint part of the clarinet, also helping to control and correct the position of the left hand.
Initally it is recommended to place the little finger of the left hand
on this orange cap. In this way, possible incorrect finger positioning can be avoided and monitored, by helping to spread and guide the fingers of the left hand over the tone holes.
| Dimensions | 29,7 × 21 × 1 cm |
|---|
